Hardwood floors are beautiful and welcoming, but they can become scratched and worn down over time. Restoring hardwood floors yourself isn’t hard, but requires a little attention to detail.Hardwood floors are beautiful and welcoming, but they can become scratched and worn down over time. Restoring hardwood floors yourself isn’t hard, but requires a little attention to detail. There are a couple of ways you can smooth out scratches, even out color, and restore that brand-new sheen to your floors. Take a look at the level of damage to your floors to determine which approach is right for you, then follow a few simple steps.
Mild or Serious Damage?
If your floors have scratches that are mainly in the finish and not deep in the wood, or are showing just minor wear, you can likely refinish them without needing to sand the wood. For deep scratches in the wood, major areas of damage, or high traffic areas that have caused uneven wear, a sander is the best choice to get a good, even result.
Refinishing Kits
If you’ve determined that your damage is minor, you can use a refinishing kit to create a new finish without the effort or mess involved in sanding floors. These kits use a chemical to smooth out the floor’s surface rather than sanding. You scrub the floor with the chemical before cleaning it, and then you apply a new finish. This method can be used with any hardwood floor to improve the appearance of the wood, but won’t get rid of water stains, deep scratches, or major wear. Keep in mind that you can’t use this sort of kit on any floor that has been waxed.
Sanding Hardwood Floors
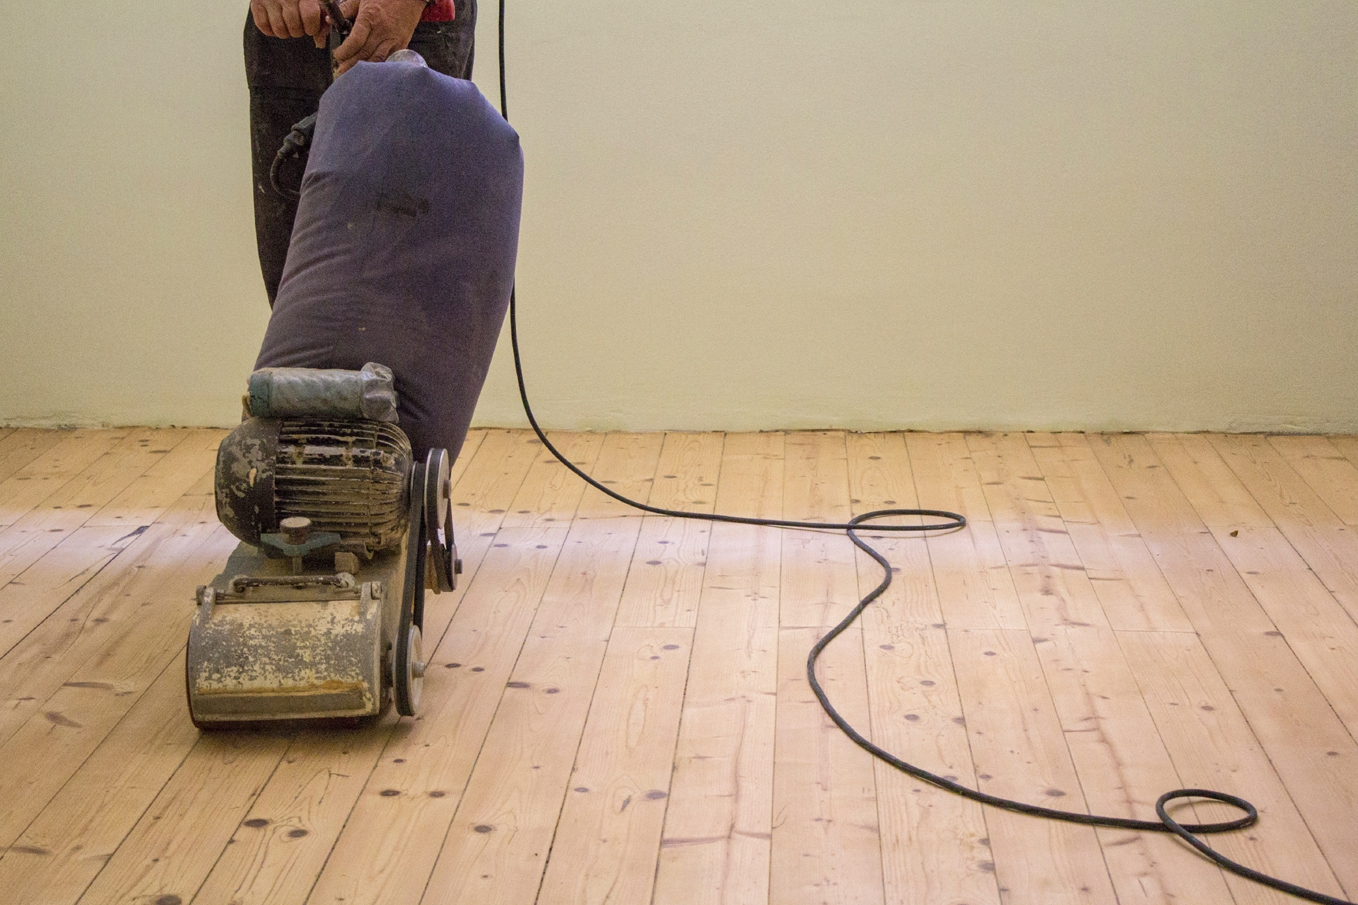
For floors that need a lot of help, sanding before refinishing is necessary. You can rent a sander from your local home improvement store for the day. Look for easy-to-use sanding equipment (such as a random orbital sander) that is best for do-it-yourself projects if you don’t have a lot of experience. Sanding can be messy work, so clear the area of anything that can be damaged and work in a careful and methodical manner. Be sure to wear protective equipment including dust masks and eye protection. Start with a heavier grit and then work to a finer grit as the floor becomes smoother. Pay careful attention to corners and along baseboards, which you might need to touch up by hand.
Cleaning Up After Sanding
The last thing you want is dust, dirt, and hair stuck in your fresh wood finish, so be sure to clean the floors really well after you sand. Start by vacuuming the area thoroughly, and then wipe the floors down with damp rags to get any remaining debris. Wipe the entire floor area with a solvent to finish the cleaning job; vinegar and water are a good all-natural choice.
Applying the New Finish
The type of finish you use depends on what was previously used on the floors. You may need to test a few finish options to find the right one. Look for a finish that doesn’t peel and adheres easily to the wood. Test it in an inconspicuous area before you proceed. As you apply the finish, work from the far corner of the room out towards the doorway; be sure that you don’t box yourself in! If you are using a stain before the polyurethane coating, apply it evenly and allow it to dry completely. Dab to remove excess stain. The polyurethane coating should also be applied in a thin, even coat. A high-density foam roller is a good way to apply the polyurethane.
Touching Up Mistakes
If you find uneven areas or debris stuck in the finish, sand carefully with fine-grit sandpaper, then reapply the finish to create an even look. When the finish dries, it should appear shiny and even.


